
Chilat Doina
September 30, 2026
Most advice about HTML for Amazon product descriptions is outdated. Bold tags, italics, headings, and bullet-list markup may still appear in old tutorials, but Amazon's current product detail page rules don't treat the description like a normal web page. Sellers shouldn't use HTML, JavaScript, or other code there, with one narrow exception, the <br> tag for line breaks. Amazon's product detail page guidance makes that boundary clear.
That changes the job. You're not designing a mini landing page inside Seller Central. You're publishing text into a controlled distribution field, then using the rest of the listing and, where available, A+ Content to do the visual selling. On a channel reported to account for about 37.6% of U.S. online retail sales in 2026, according to this Amazon and Shopify market share analysis, relying on obsolete formatting tricks is a poor use of listing effort.
The popular assumption is simple: add <b> for emphasis, <i> for benefits, and <ul> with <li> tags for a polished product description. That approach belongs to older publishing workflows, not the current Amazon environment. Amazon's rules explicitly prohibit HTML, JavaScript, and other code in product detail pages, while allowing line breaks with <br> in the description.
That means tags such as these aren't dependable tools for a live listing:
<b> and <strong> for bold text<i> and <em> for italics<h1>, <h4>, or other heading tags<ul> and <li> for formatted lists<p> for paragraph stylingAmazon may remove unsupported markup before shoppers see the content, or treat the submitted field differently from the way it appears in your editor. Either way, the result is the same: time spent polishing HTML doesn't reliably improve the customer view.
Sellers used HTML because it could create visual hierarchy in descriptions. A bold benefit statement appeared easier to scan, while paragraph tags and list elements separated technical information from persuasion. That logic made sense when the description behaved more like a basic web-page component.
Amazon's current publishing model is stricter. The description is text-only, and Amazon's own guidance says sellers shouldn't assume that every supplied word will be used for search retrieval. The description still matters for customer understanding, but its value comes from clear language, useful ordering, and compliant structure, not from decorative code.
Practical rule: Treat the description as source text, not as a webpage you control.
This distinction also prevents a common category error. A robots directive controls how search-engine crawlers handle a website page, while Amazon description formatting controls how Amazon accepts and displays listing content. If you're working across your own site and marketplace listings, a guide to robots meta directives can clarify the difference between crawl instructions and content formatting. Don't transfer web-page assumptions into Seller Central.
Write the opening as if the shopper may see plain text with limited visual separation. Put the product's main use, audience, and differentiating benefit early. Follow with short paragraphs or compact bullet-style lines, then add supporting details such as compatibility, materials, included components, or use instructions.
The winning mindset is operational rather than ornamental. Amazon rewards compliant clarity at the listing level, not clever attempts to recreate a retail website inside one text field. Once you accept that, the description becomes easier to write, easier to upload, and less vulnerable to formatting changes.
With rich markup off the table, the only formatting control worth building around is the line break. Amazon's guidance identifies <br> as the explicit exception to its restriction on code in descriptions, so use it as a separator, not as a substitute for every element of a web page. Amazon's Seller Central description guidance supports the practical approach of using plain text, bullets, and short paragraphs.
A workable description has a simple visual rhythm:
You can use <br> like this:
Product benefit in one clear sentence.
DESIGNED FOR EVERYDAY USE
A concise explanation of the product's main use and the problem it addresses.
KEY FEATURES
• Feature one, followed by the customer benefit
• Feature two, followed by the customer benefit
• Feature three, followed by the customer benefit
WHAT'S INCLUDED
List the contents of the package in plain language.
This isn't rich HTML formatting. The tag only creates a line break. The capitalization, spacing, and wording create the hierarchy that the unsupported tags would have provided.
A weak version often arrives as one dense block:
This insulated lunch bag is made from durable material and has a spacious interior with a zippered top and adjustable shoulder strap. It can be used for work school travel picnics and outdoor activities. The bag is easy to carry and clean and includes an exterior pocket for accessories.
A more usable version keeps the same information but gives each idea room:
INSULATED LUNCH BAG FOR WORK, SCHOOL, AND TRAVEL
Keep meals and snacks organized in a portable bag designed for daily routines.
EASY TO CARRY
Use the adjustable shoulder strap or carry handle for commuting, school, picnics, and travel.
PRACTICAL STORAGE
The spacious interior holds meals and snacks, while the exterior pocket keeps small accessories close at hand.
EASY TO CLEAN
Wipe the durable exterior after use.
The second version doesn't need bold text to communicate structure. It uses specific subheads, short passages, and benefit-led sequencing. Avoid turning every sentence into uppercase copy, though. Excessive capitalization makes the description harder to read and can look like shouting.
Use one idea per line when the information is naturally list-like. For example, a kitchen scale description can separate “Tare function,” “Readable display,” and “Compact storage” without pretending those are formal HTML bullets. Keep each line meaningful. A line break can't rescue vague copy such as “premium quality” or “clever design.”
A line break should clarify a decision, not decorate a paragraph.
Write the plain-text version first. Add <br> only after the wording works without it. That preserves a clean source of truth and prevents formatting from becoming a crutch.
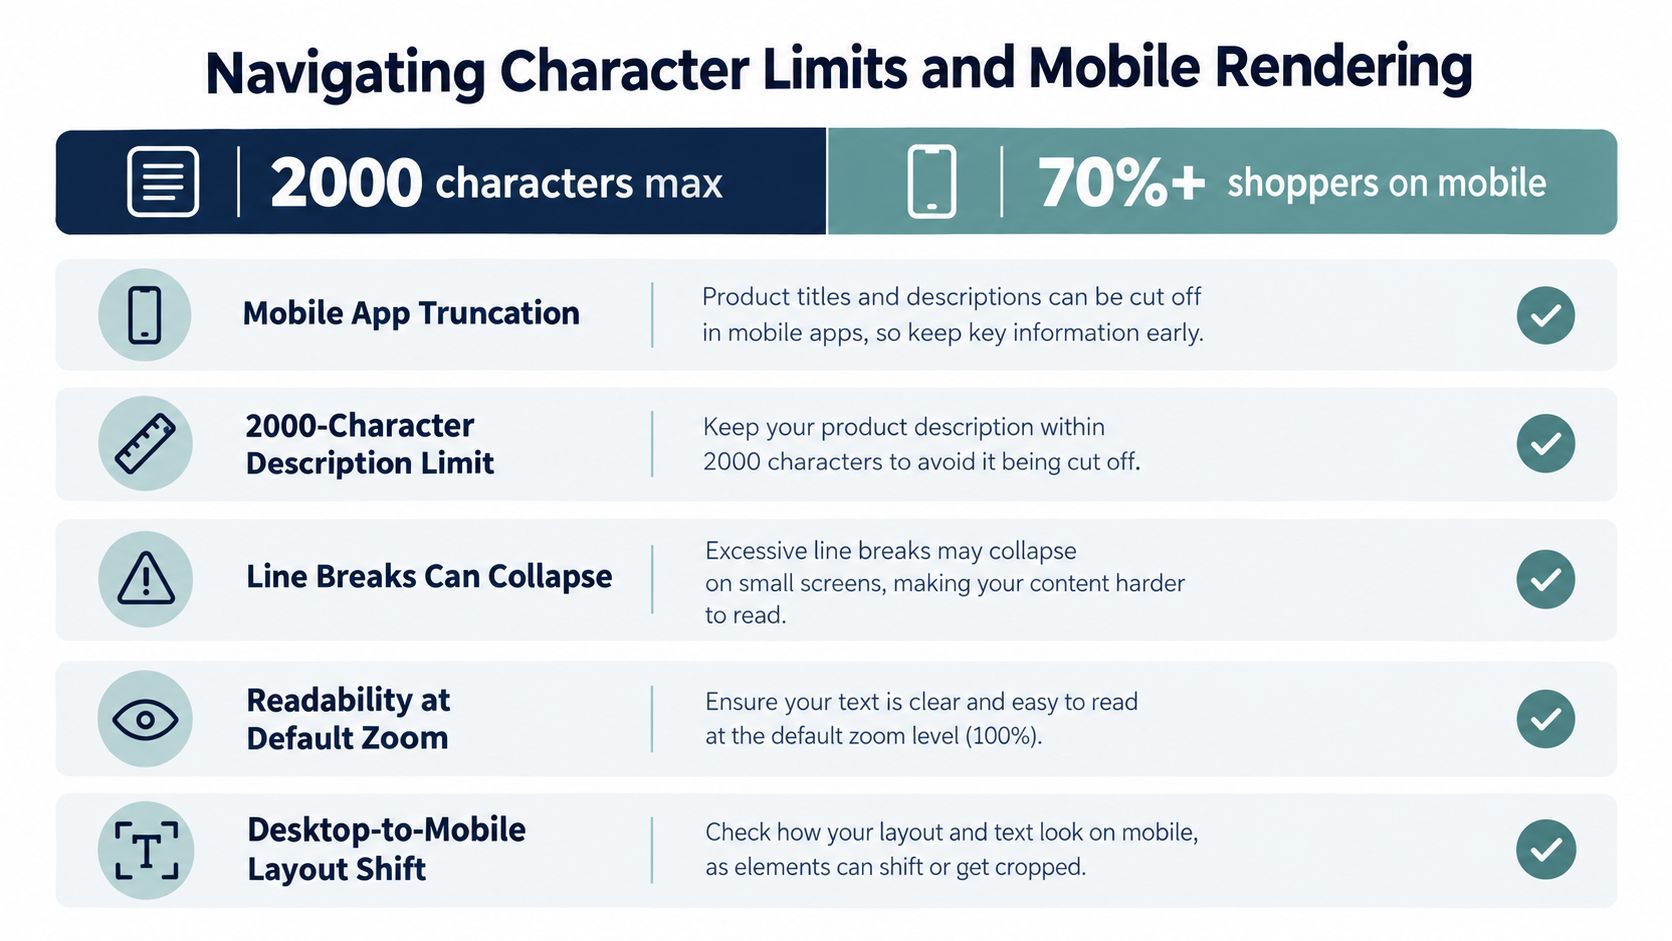
A description can look orderly in your working document and still feel awkward on a phone. The customer may encounter different line wrapping, collapsed spacing, or a shortened preview, so the first part of the copy needs to stand on its own. Don't bury the product's defining use case beneath a long introduction.
Amazon also applies a category-specific character limit to the description field. The applicable limit should be checked in the current Seller Central guidance for the relevant category, rather than copied from a generic tutorial. If your workflow assumes one universal limit, it can fail before the listing reaches the customer.
The opening should answer the shopper's immediate questions:
A portable monitor description, for example, should establish that it is a portable monitor before discussing its stand, cover, or cable storage. A replacement filter should identify the compatible appliance family before describing the filter material. This ordering helps the copy remain useful even when the customer doesn't expand every line.
Don't approve a description based only on the Seller Central editor. Save the submitted text, open the live detail page, and inspect the customer view on both desktop and mobile. Check whether <br> creates the intended separation, whether special characters remain readable, and whether the opening still communicates the product after the page shortens or rearranges the preview.
Use a practical quality check:
| Check | What to inspect |
|---|---|
| Opening | The product type and primary benefit appear immediately |
| Spacing | Line breaks separate ideas without creating empty visual clutter |
| Symbols | Bullets, trademark marks, fractions, and accented characters display correctly |
| Claims | Every feature is accurate for the exact ASIN and variation |
| Mobile view | The first visible copy remains understandable without desktop formatting |
Avoid copying text from word processors with hidden styling or unusual characters. Paste into a plain-text editor first, then add only the characters and line breaks you need. This reduces the chance of submitting invisible formatting that Amazon removes or interprets unpredictably.
One more distinction matters. Line breaks improve readability, but they don't turn the description into an indexed heading system. Use natural product language throughout, and don't repeat a keyword just to fill space. A clean description supports the buying decision, while the listing's broader field strategy handles discoverability.
The standard product description and A+ Content serve different jobs. The description is a text field that must remain useful in its own right. A+ Content provides a richer presentation through approved modules, images, and structured visual sections, but it doesn't accept arbitrary HTML tags.
Amazon states that applying A+ Content hides the plain-text product description on the detail page, while the underlying text field should still be maintained as a fallback. That creates an important operating rule: A+ replaces the visible description area, but it doesn't make the text field irrelevant. The official A+ Content guidance from Amazon supports keeping both versions updated.
Use the plain-text field for the core factual record:
Use A+ modules for information that benefits from visual explanation:
The two formats shouldn't contradict each other. If the text field says a cable is included but the A+ module shows it as an optional accessory, the listing creates uncertainty. If a product changes, update the factual text and every relevant visual module during the same content review.
Maintaining both fields doesn't mean duplicating a long block word for word. Start with a short message map containing the product's use, audience, principal benefits, compatibility, and constraints. Build the plain-text description from that map, then translate the same priorities into A+ modules.
For example, a cordless vacuum's text field might explain the intended floor types, included attachments, charging method, and maintenance requirements. Its A+ presentation can show the attachments in use and compare the model with related products, while the text remains the dependable factual fallback.
For sellers who still use the older term EBC, this explanation of EBC and A+ Content helps distinguish the enhanced content format from the underlying product description field.
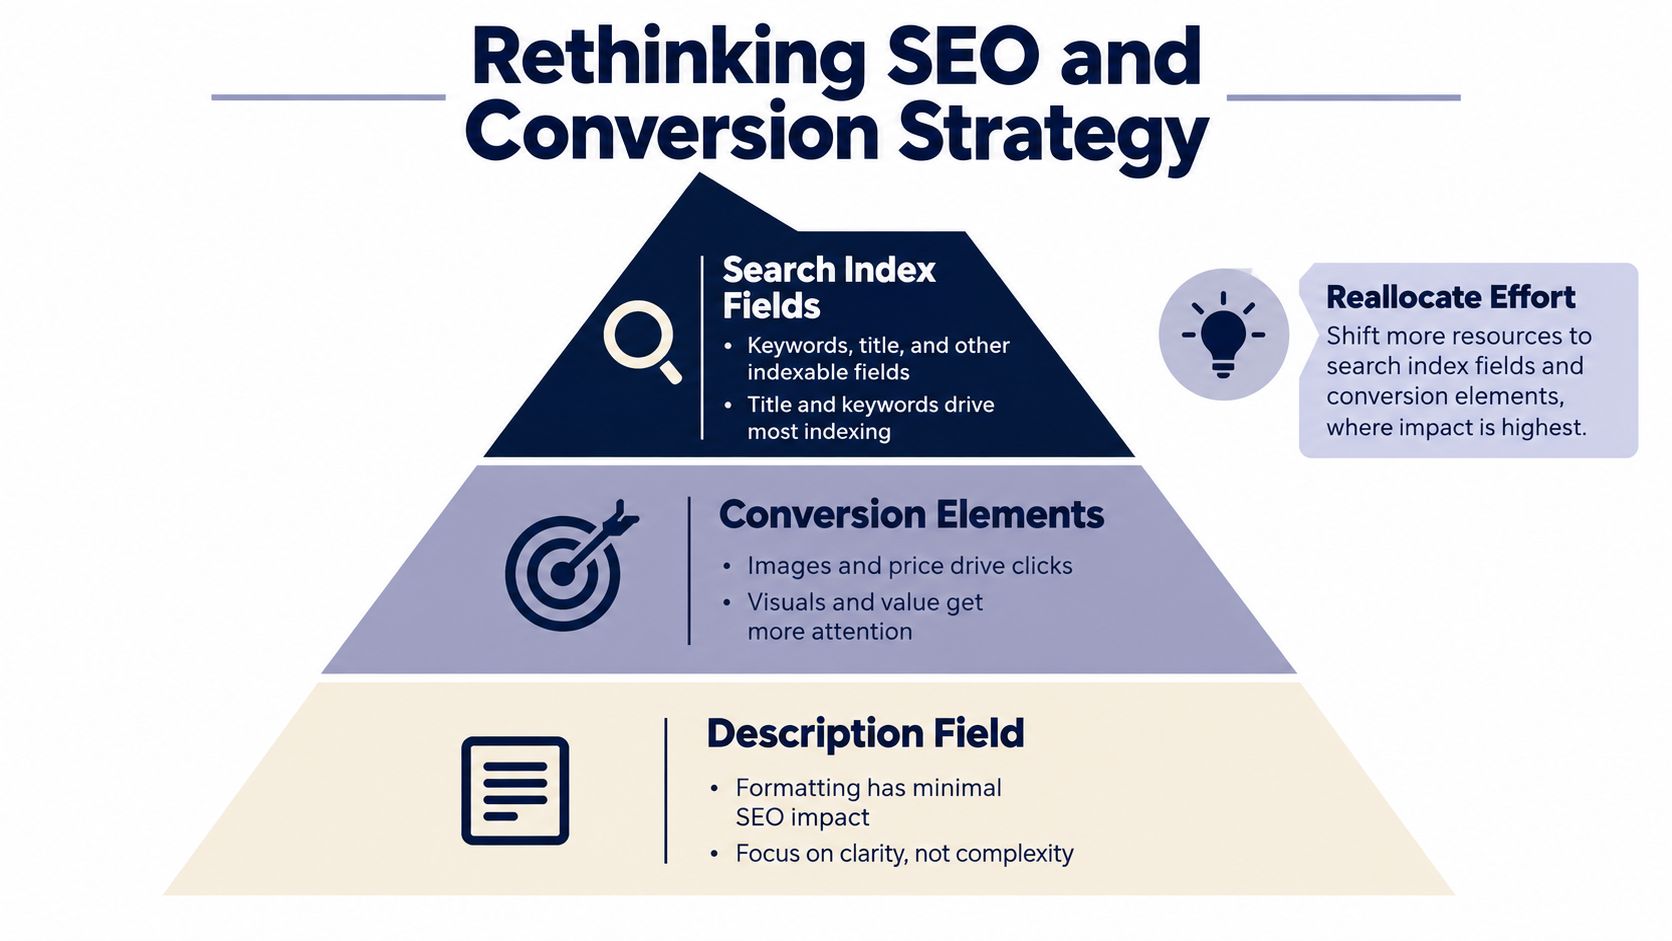
The trade-off is straightforward. A+ gives you more persuasive visual real estate, but it doesn't excuse weak source copy. Plain text gives you disciplined product communication, but it can't provide the same visual demonstration. Strong listings use each format for what it can do.
A polished draft can still fail during publishing if the upload process changes the text. Treat the submitted description as a versioned content asset. Keep a plain-text master copy, a clearly marked version with <br> line breaks if you use them, and a record of the ASINs or parent-child relationships affected by the change.
For a single listing, open the product in Seller Central and use the listing editor to update the description. Paste the content carefully, save the change, and wait for the listing to reflect the update before judging the result. Don't assume that the editor's input view is identical to the customer-facing page.
A reliable manual sequence is:
If the formatting disappears, first test the same copy without tags. That tells you whether the issue is the content itself or the ingestion path.
Flat files and inventory templates introduce another failure point because spreadsheet cells can alter line breaks, quotation marks, and special characters. Before uploading a large file, test one representative SKU and inspect the result. Keep a backup of the exact submitted row so you can compare Amazon's published output against your source.
Don't add HTML entities or escape characters reflexively. Use the format required by the specific template and preserve the intended text rather than attempting to encode a web page inside the field. If a line break is essential, verify whether the upload method preserves the <br> string or converts it during processing.
API-based updates should follow the same principle. Your system should store the description as content, validate prohibited markup before submission, and log the response returned by the feed. A successful request only proves that the system accepted the payload. It doesn't prove that the customer sees the intended spacing.
The Amazon Seller Central overview can help teams separate listing edits from broader account workflows. For internal operations, add a post-publication check to every automated update. Compare the live detail page against the approved version, especially after changing a parent listing, a variation, or A+ modules.
Amazon's description field is best understood as a distribution problem, not a formatting problem. Amazon's current guidance says the field is text-only and that it doesn't use all supplied content for search retrieval, as explained in Amazon's product description search guidance. That makes decorative HTML a weak optimization target.
The better question is where each message belongs. Search-oriented information should be placed naturally in the fields Amazon is designed to process, while conversion information should appear where shoppers can understand it quickly. The description still deserves careful writing, but it shouldn't absorb the effort that belongs in the title, bullet points, backend search terms, images, and A+ Content.
Title: Identify the product, brand, model, and essential differentiator in a readable order. Avoid turning the title into an unreadable keyword string.
Bullet points: Explain the strongest benefits and the facts that help shoppers compare options. Each bullet should answer a customer question, not repeat the same adjective.
Backend search terms: Use relevant language that doesn't fit naturally into visible copy. Keep the terms tied to the actual product and customer intent.
Description: Provide a coherent explanation of use, compatibility, features, and limitations. Build it in plain text, then use <br> only where separation genuinely helps.
Images and A+: Demonstrate what words can't show efficiently. Use visuals for scale, application, component identification, and model comparison.
This is also where broader web SEO resources need careful handling. A guide such as AutoSEO's structured data examples is useful when you're implementing structured data on a website, but website schema isn't a replacement for Amazon listing fields. Don't paste JSON-LD, scripts, or web markup into a product description.
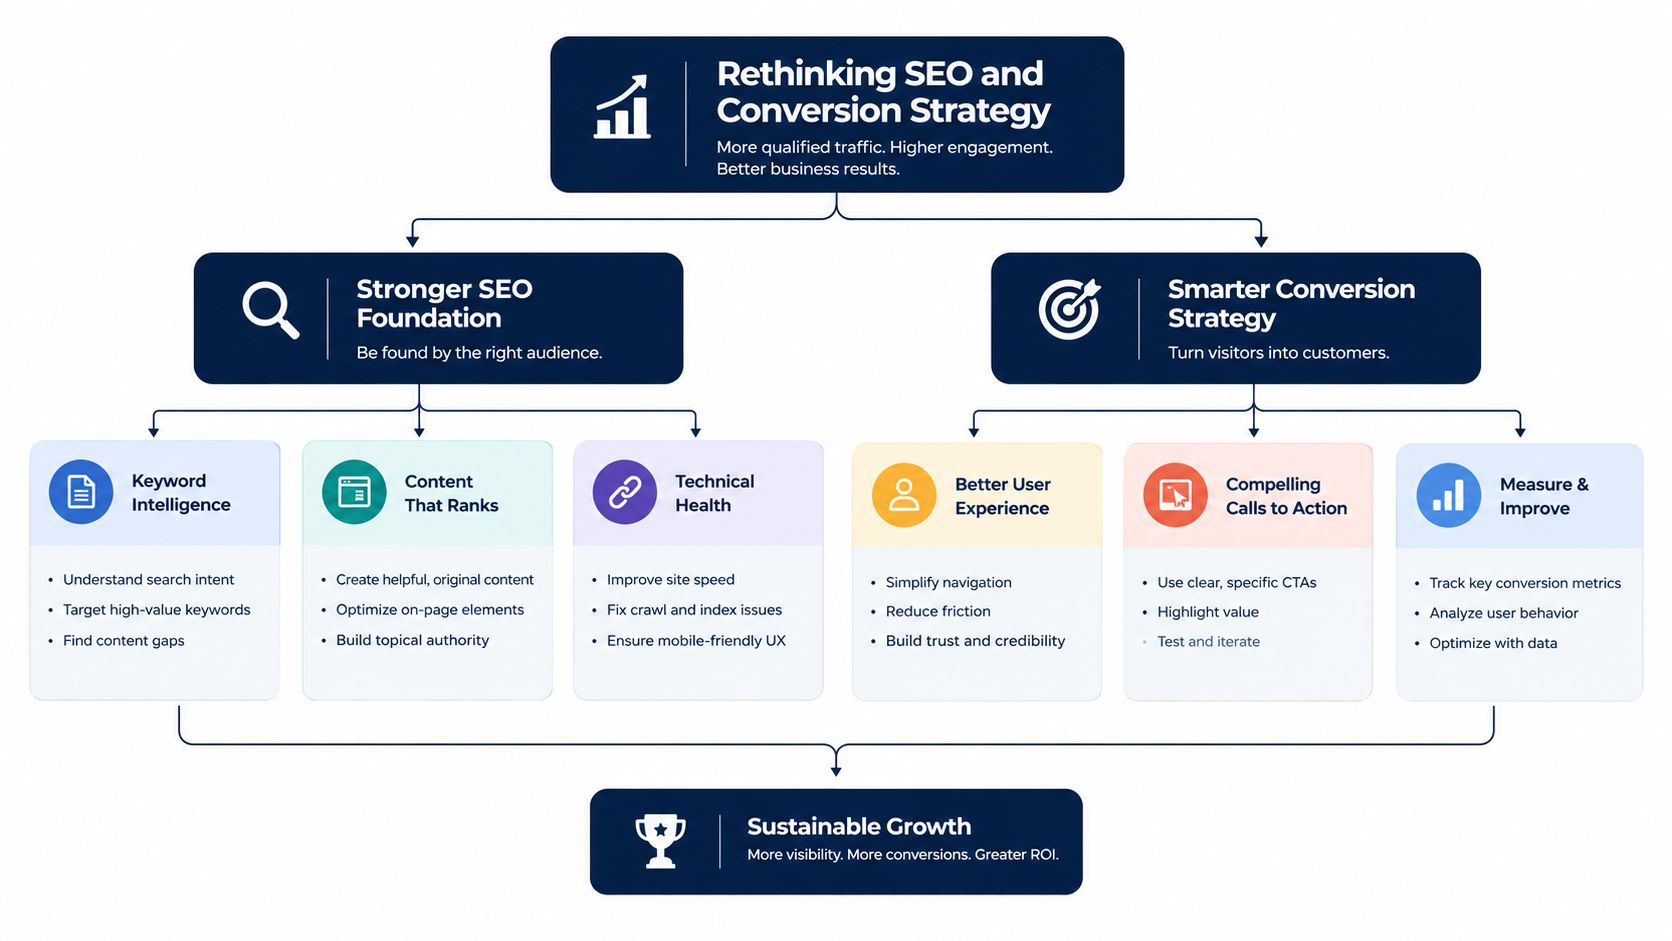
Start with the customer query and the purchase objection. Then assign each answer to the most suitable field. A shopper asking “Will this fit my device?” needs compatibility language in visible copy and, where helpful, a visual reference. A shopper asking “What makes this model different?” needs a concise benefit in the bullets and a clear comparison in A+ Content.
For a practical listing audit, use this Amazon listing optimization resource as a reference point, then inspect the live customer experience rather than judging the draft in isolation. Remove unsupported HTML, tighten the opening, verify every factual claim, and check that the visual modules agree with the source text.
Million Dollar Sellers offers peer-led strategy sharing, private forums, curated events, mastermind calls, and vetted service recommendations for established e-commerce entrepreneurs working across Amazon, DTC, and omnichannel brands. If you want experienced seller perspectives on reallocating listing effort beyond obsolete formatting tactics, visit Million Dollar Sellers and explore the community.
Join the Ecom Entrepreneur Community for Vetted 7-9 Figure Ecommerce Founders
Learn MoreYou may also like:
Learn more about our special events!
Check Events