Chilat Doina
February 26, 2026
Let's be honest: great product photography for Amazon isn't just about snapping a few clear pictures. It's one of the most powerful tools you have to drive sales, boost your search ranking, and build a brand that people remember. For the sellers who are really crushing it, high-quality images are the single biggest conversion lever they can pull.
On a platform as crowded as Amazon, your images are doing some serious heavy lifting. They're your digital storefront, your 24/7 salesperson, and the only way you can communicate with someone before they click "Add to Cart." Shoppers can't touch or test your product, so they’re relying entirely on your photos to decide if it's right for them. In those first few seconds, you either build trust or lose the sale.
Exceptional photography sends a clear signal to both shoppers and Amazon's A9 algorithm. Crisp, professional images instantly suggest a high-quality product from a seller who cares. This perception has a direct impact on your click-through rates from search results and, of course, your conversion rate. When Amazon's algorithm sees people engaging with your listing and actually buying, it rewards you with better visibility and a stronger shot at the Buy Box.
Think of your image gallery as a visual sales pitch. Each and every photo needs to answer a question, show off a key benefit, or highlight a unique feature. A simple shot on a white background is just the starting point—the real magic happens when you tell a complete story with a full set of images.
This is where a strategic mix of visuals comes into play:
When you take this multi-faceted approach, you're not just attracting buyers; you're making sure they know exactly what they're getting. When the product that arrives perfectly matches the high-quality images they saw, satisfaction goes up and those costly returns go way down. Your goal is to leave absolutely no room for doubt or unwelcome surprises.
The impact of a well-thought-out image strategy isn't just a theory; it's a data-driven reality that separates top-tier sellers from everyone else. Investing in a complete visual package is one of the most reliable ways to improve your performance across the board.
The data is clear: there's a direct line connecting image quality to sales performance. A real-world A/B test run by a clothing vendor in 2025 provides a perfect example. Version A used basic front-and-back shots on a plain white background. Version B, on the other hand, went all out with infographics, zoomable details, and lifestyle images showing the clothes in action.
The result? Over 30 days, Version B brought in a 19% sales increase and cut returns by 12%. It’s proof that smart visuals don't just close the deal—they keep customers happy post-purchase.
Ultimately, your photography is an investment, not an expense. It's a fundamental part of your marketing and brand-building efforts. In fact, strong visuals are non-negotiable if you want to understand how to build brand identity on a platform as competitive as Amazon. By treating your product photography as the strategic priority it is, you create a powerful advantage that drives both immediate sales and long-term loyalty.
Meeting Amazon's technical image rules isn't just about checking boxes; it's the very first step to getting your products seen and sold. Don't think of these guidelines as annoying constraints—they're the foundation for a listing that actually performs. Getting them right from the get-go saves you from the headache of rejected images and makes sure your products are perfectly primed for Amazon's algorithm.
These rules aren't random. They’re designed to create a clean, consistent, and trustworthy shopping experience for millions of people. When your listing aligns with these standards, it instantly looks more professional and reliable, which is a massive advantage in a marketplace this crowded.
When you boil it all down, Amazon’s requirements are all about clarity, consistency, and a professional look. The full list of rules can feel a bit overwhelming, but the most critical pieces for your main "hero" image are pretty straightforward. Mastering these is non-negotiable if you're serious about selling.
Your main image has to be a clean photograph of the product itself. That means no extra props, no text overlays, and no logos. It needs to be sharp, in focus, and professionally lit so it accurately shows the customer exactly what they're getting. Veer off this path, and you risk image suppression, which basically makes your product invisible in search results.
Here are the absolute must-haves:
B00SAMPLE.jpg.There’s a simple reason Amazon is obsessed with large, high-resolution images: the zoom feature. Customers count on being able to zoom in and inspect product details up close, just like they would in a real-world store. If your image is too small, that function gets disabled, and you lose a huge opportunity to build buyer confidence.
The absolute minimum is 1000 pixels on the longest side, but you should treat that as the floor, not the goal. To really enable a crisp, clear zoom that lets shoppers see the texture of the fabric or the quality of the finish, you should be aiming for at least 2000 pixels on the longest side. This larger size keeps your product looking sharp and professional, even when someone is scrutinizing every detail.
A high-resolution image does more than just look good; it actively reduces customer uncertainty. When shoppers can zoom in and verify the quality of the material or the details of the construction, they are far more likely to make a purchase and less likely to return it.
Amazon’s 2026 rule updates are going all-in on this, making high-resolution, zoomable images mandatory. These standards are also critical for feeding Amazon's AI tools like Rufus, which helps with product discovery. Brands that are already on board often see a major drop in returns—some have reported up to 30% fewer refunds—all because customers can inspect every last detail before they click "buy." You can read more about these changes over at CedCommerce.
The single most important rule for your main image is the background. It absolutely must be pure white (RGB 255, 255, 255). No off-white, no light grey, and definitely no artsy lifestyle shots. This is what creates that clean, uniform look on Amazon's search results pages.
Just as critical is the product-to-frame ratio. Your product needs to fill at least 85% of the image frame. This makes sure the product is the star of the show—large, clear, and not drowning in empty white space. Breaking either of these two rules is one of the fastest ways to get your main image flat-out rejected.
Nailing these technical details is the first step to success. It lays the groundwork for a product page that’s not just compliant, but visually compelling and profitable. If you're looking for more ways to level up your product pages, take a look at our guide on optimizing Amazon listings for maximum impact.
Once you've nailed the technical rules, the real fun begins. Now, your goal is to go beyond just checking boxes and start using your images to persuade. The best Amazon sellers don’t just upload photos; they build a strategic image stack—a curated gallery of 7 to 9 visuals designed to tell a story, answer every potential question, and drive people to click "Add to Cart."
This isn't about just filling the available slots. Every single image needs to have a specific job. You’ve got your hero shot that grabs attention, your lifestyle photo that helps shoppers imagine the product in their lives, and your infographics that spell out the benefits. A killer image stack is a visual sales pitch that walks a customer from "What is this?" to "I need this."
Before we dive into the creative side, let's get the foundational rules straight. This diagram breaks down Amazon's core technical requirements that every single image must meet.
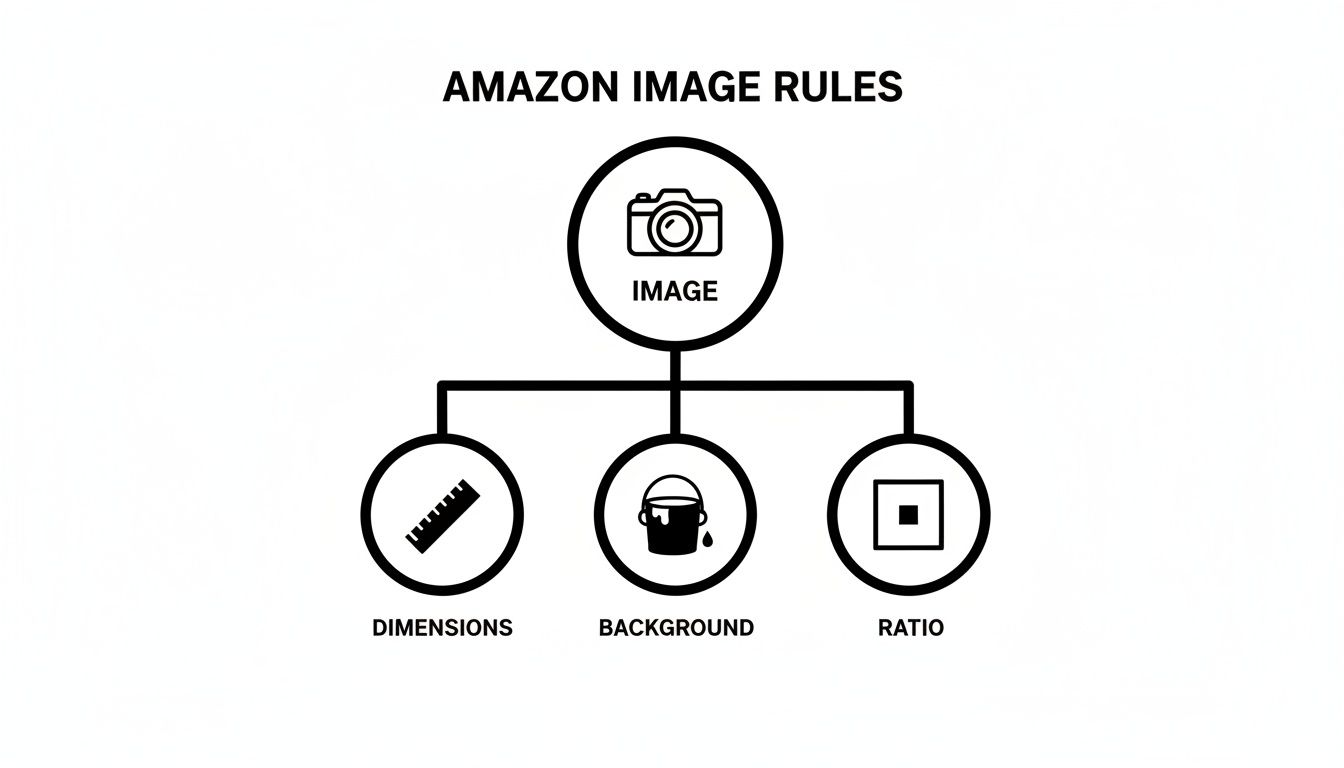
Think of these three pillars—dimensions, background, and aspect ratio—as the non-negotiable base. Get these right, and you have a solid foundation for your creative strategy.
Your image gallery should work like a finely-tuned sales machine, with each photo building on the one before it. Here’s a rundown of the essential shots that create a powerful and persuasive customer experience.
The most effective image galleries anticipate and answer customer questions before they're even asked. Every photo must serve a purpose, whether it's showing off a feature, clarifying size, or creating an emotional connection.
Today’s shoppers are sharp. They can spot overly polished, inauthentic marketing from a mile away, and it's a huge turn-off. This has sparked a major shift toward visuals that feel more genuine and trustworthy.
The numbers don't lie. While studies show a staggering 92% of consumers trust user-generated content, brands that adopt a similar, more authentic style are seeing massive wins. In fact, 64% of buyers are more likely to purchase from brands that use sustainable visuals with natural lighting and eco-friendly props.
This means professional photography isn't just an expense; it's a critical investment. We've seen A/B tests prove that listings with a varied shot selection—including close-ups, infographics, and videos—can boost sales by 19-30% while cutting returns by as much as 12%. It’s clear that a diverse and authentic image stack directly fuels your bottom line.
Your image stack is also your secret weapon for standing out. A simple, well-designed comparison chart is one of the most effective ways to show why your product is the better choice.
Create a graphic that puts your product side-by-side with a generic or leading competitor. Use simple checkmarks and X’s to highlight all the features you offer that they don’t. This makes your advantages pop instantly, saving the customer from having to read paragraphs of text to figure it out.
And don't stop at still images. Understanding how to create product videos that convert is a game-changer for any serious seller. A short video can demonstrate your product in action, showcase its quality, and tell a story in a way that static photos just can't. If you're looking for ways to get this done without a Hollywood budget, check out our guide on https://www.mds.co/blog/affordable-product-photography.
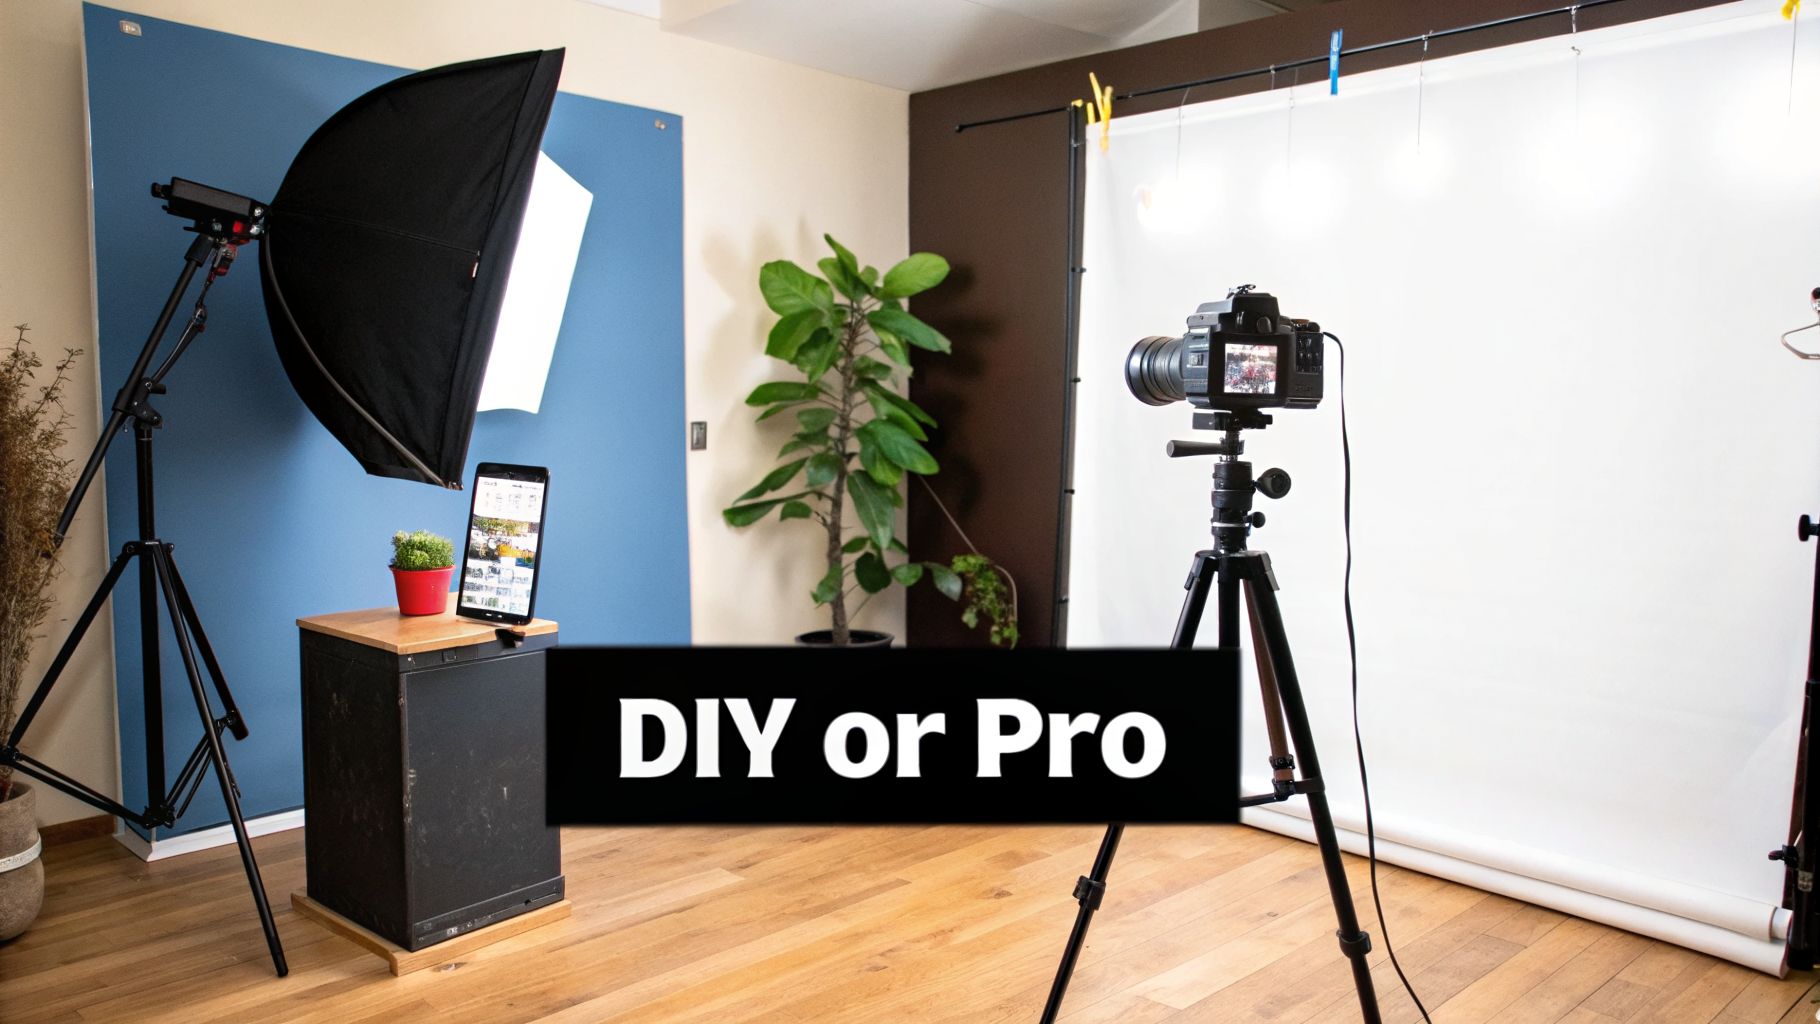
Sooner or later, every Amazon seller gets to this fork in the road. Do you roll up your sleeves and learn the craft of product photography for Amazon, or do you bring in a professional to handle it for you?
There’s no one-size-fits-all answer here. The right move really hinges on your budget, how many products you have, and where you see your brand going in the long run.
Taking the DIY route puts you in the driver’s seat. You’ve got total control and can shoot new products whenever you want, without being on someone else’s schedule. But, be prepared for a pretty steep learning curve and a decent upfront investment in gear.
On the other hand, outsourcing to a pro guarantees you’ll get top-notch, compliant images right from the get-go. This path saves you a mountain of time but obviously requires a bigger budget and a super-clear brief to make sure you get exactly what you need.
If you're thinking about building your own in-house setup, here's some good news: you don't need a massive budget to get started. The trick is to spend your money on the gear that actually makes a difference. Forget the fancy stuff for now and just nail the fundamentals.
Here's what your essential shopping list should look like:
The biggest mistake I see new DIY photographers make is obsessing over the camera and then skimping on lighting and a tripod. Professional-looking product photography is 90% lighting and stability and only 10% the camera itself.
If the DIY route feels like too much of a time-sink, hiring a pro is a smart move. But finding the right one is crucial. A lot of photographers take beautiful photos, but not all of them specialize in the clean, conversion-focused style that actually sells products on Amazon.
When you're looking at freelancers or studios, you have to dig deeper than just their portfolio.
Start by asking these questions:
Here’s a major red flag: a photographer who doesn't ask you for a detailed shot list or a creative brief. A true professional will want as much information as you can give them to make sure they're capturing your product exactly how you see it. If they have a "don't worry, I got this" attitude without asking a ton of questions, you should probably walk away.
Once you’ve got a solid set of images that are bringing in sales, it’s time to shift gears and really pull ahead of the competition. Moving into advanced territory isn't just about taking prettier pictures; it's about building a smart, data-driven system to constantly refine your visuals and scale that success across your entire catalog.
The top sellers on Amazon treat their visual content like a science. They don't just "set it and forget it." They're always testing, tweaking, and finding ways to produce amazing assets more efficiently and consistently. This is where you move from just having good images to having a visual strategy that drives serious growth.
Great static images are the bare minimum to compete on Amazon today. If you really want to stand out, you need to give customers an experience they can't get from a flat photo. This is where 360° spin photography and product videos come into play.
A 360° spin lets a shopper digitally "pick up" your product and examine it from every single angle, just like they would in a physical store. This simple act of interactivity builds a massive amount of confidence and can seriously cut down on returns. When a customer has explored every nook and cranny of a product, there are no surprises when it arrives at their door.
Product videos take it a step further. A quick, punchy 30-second video can show your product in action, demonstrate a key feature, or tell a story far more effectively than a block of text ever could.
Stop guessing which hero image will perform best—it’s a surefire way to leave money on the table. The only way to know what truly resonates with customers is to test it. Amazon's own ‘Manage Your Experiments’ tool is a game-changer for this, letting you run direct A/B tests on your main image, title, or A+ Content.
Getting started is straightforward:
A/B testing is how you remove ego from the equation. It replaces "I think this one looks better" with "The data proves this one sells more." This is the mindset that separates the amateurs from the pros.
By constantly testing and making small, data-backed improvements, you'll see a massive lift in your sales over time.
Manually editing hundreds, or even thousands, of product photos is a huge bottleneck. Think about the time it takes for background removal, color correction, or creating unique lifestyle scenes for every single variation. It's a massive time-sink. This is exactly where AI-powered editing tools are changing the game. If you're looking to optimize and scale, checking out various AI product photography tools is a smart move.
Modern AI software can now handle these repetitive tasks with incredible speed and accuracy.
When you integrate these tools into your workflow, you're not just saving time; you're freeing up your team to focus on bigger-picture strategy instead of getting lost in the weeds of technical execution.
Even the most seasoned sellers run into questions mid-shoot or while prepping a new launch. It’s just part of the game. So, let's tackle some of the most common things people ask about getting their Amazon photos just right.
Think of this as your go-to cheat sheet for those "what if" moments. We’re talking budgets, file types, mobile optimization—the practical stuff you need to know right now.
This is the big one, and honestly, the answer is "it depends." Costs can swing wildly depending on the photographer's experience, where you're located, and how complex your product is.
As a general rule of thumb, a solid starting point for a basic package from a good studio is somewhere between $300 to $800. That usually gets you a set of 5-7 high-quality images for one product. You'll get your required pure white background shots and maybe a simple lifestyle or infographic image thrown in.
But if you're selling something complex or want those scroll-stopping lifestyle scenes with models, you'll need to invest more. High-end commercial photographers who specialize in e-commerce can easily charge $1,500 or more per product for a full, conversion-focused image stack.
When you're shopping around for quotes, don't just fixate on the price tag. Dig deeper and ask exactly what's included. The best value often comes from photographers who already know the Amazon game inside and out—they'll deliver a full, ready-to-upload package without endless back-and-forth.
Getting your file types right is a balancing act between image quality and how fast your page loads. While Amazon accepts a few different formats, each one has a specific job in a smart workflow.
The bottom line? Your final step before uploading to Seller Central will always be converting that master TIFF or PNG file into a high-quality JPEG.
Nope. You absolutely do not need to drop thousands on a top-of-the-line camera. Honestly, many of today's entry-level mirrorless cameras are more than powerful enough to create incredible, professional-grade product photos for your Amazon listings.
Cameras like the Canon EOS R50 or the Fujifilm X-T5 produce images with stunningly sharp detail and fantastic color accuracy—and those are the two things that matter most.
What makes a much bigger difference than the camera body is your lighting and your lens. A sharp 50mm prime lens paired with a decent two-light setup will elevate your images far more than an expensive camera body ever could on its own.
At Million Dollar Sellers, we know that mastering details like photography is what separates the top 1% from the rest. Our exclusive community is for elite e-commerce entrepreneurs who are ready to stop guessing and start scaling smarter by sharing proven, behind-the-scenes strategies. Apply to join Million Dollar Sellers today and start growing with the best in the business.
Join the Ecom Entrepreneur Community for Vetted 7-9 Figure Ecommerce Founders
Learn MoreYou may also like:
Learn more about our special events!
Check Events